
Table of Contents
What Are 1 2 3 Blocks? (Definition & Overview)
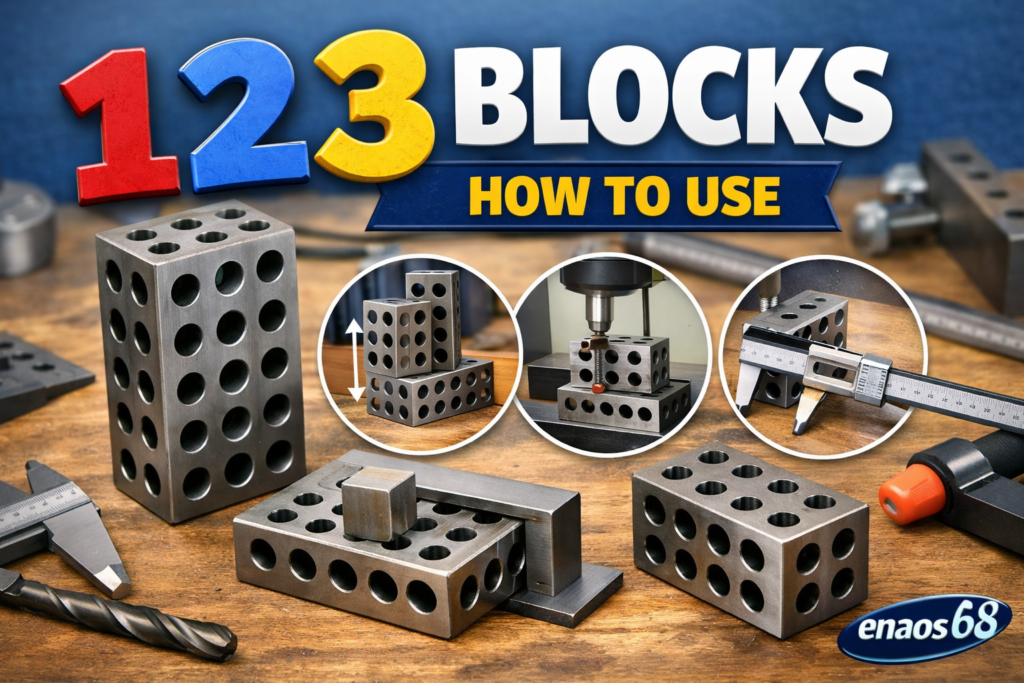
1 2 3 blocks are simple but highly accurate metal blocks used in machining and precision work, and understanding 1 2 3 blocks how to use starts with knowing what they really are and why they matter. These blocks are called “1 2 3” because of their standard size: 1 inch thick, 2 inches wide, and 3 inches long, which makes them very reliable for measuring and setting up workpieces. Most of the time, they are made from hardened steel, which means they are strong, wear-resistant, and designed to keep their exact shape even after heavy use in workshops.
What makes these blocks special is their perfect flatness and accuracy, which allows machinists, engineers, and even beginners to use them as a reference tool for setting heights, aligning parts, and supporting materials during cutting or drilling. Many 1 2 3 blocks also come with precision-drilled holes, which help in clamping and fixing them securely in place, making them even more useful in different situations. In simple words, they act like a reliable “helper tool” that ensures everything stays straight, level, and correctly positioned, which is extremely important when even a small mistake can ruin a project.
Why 1 2 3 Blocks Are Important in Precision Work
1 2 3 blocks are not just ordinary metal blocks; they are precision tools that play a critical role in ensuring accuracy in machining, woodworking, and metalworking projects. Their main purpose is to provide a stable and reliable reference point for measurements and setups, which is especially important when working with tight tolerances. Without tools like these, even a small misalignment or uneven setup can result in parts that don’t fit correctly or machinery that doesn’t operate smoothly. For beginners and professionals alike, understanding 1 2 3 blocks how to use correctly can save time, reduce material waste, and improve the overall quality of the work. Many machinists consider these blocks essential because they help create repeatable and consistent setups, meaning that every part can be machined exactly the same way every time. This consistency is particularly crucial in industries where precision is non-negotiable, such as automotive, aerospace, or custom metal fabrication.
Moreover, 1 2 3 blocks are valuable because they can serve multiple purposes in a workshop, making them a versatile investment for anyone who wants to improve their workflow. They can act as spacers to lift a workpiece to the correct height, as alignment guides to keep pieces straight, or as supports to prevent movement during cutting or drilling. Because they are made from hardened steel or other durable materials, they remain flat and accurate for years, which ensures long-term reliability in measurements. Even in situations where other tools might shift, wear out, or bend, 1 2 3 blocks maintain their precision, which is why they are favored by both professionals and serious hobbyists. In essence, knowing how to use 1 2 3 blocks properly is a key skill for anyone who wants to produce high-quality work with confidence, efficiency, and accuracy, making them an indispensable part of any precision toolbox.
1 2 3 Blocks How to Use – Step-by-Step Guide
Using 1 2 3 blocks may seem simple at first glance, but mastering them requires understanding a few important techniques to ensure accuracy and safety. The first step is always inspection and cleaning, as even a small speck of dirt or metal shavings on the block can affect measurements. After ensuring the block is clean and free from damage, you should select the right orientation, aligning the 1-inch, 2-inch, or 3-inch side according to the height or spacing needed for your project. Many beginners make the mistake of assuming the block can be placed any way, but precision comes from paying attention to the orientation and ensuring the block sits flat on a level surface. Once positioned, it’s important to secure the block, especially when using it to support or align heavy materials. You can use clamps, vises, or bolts through the pre-drilled holes to keep the block firmly in place. After securing, you should align your workpiece against the block carefully, checking that it is straight and even before starting any cutting, drilling, or machining task. Accuracy depends on taking the time to double-check measurements at every step, as even minor shifts can cause errors that may ruin a project.
Once you are comfortable with basic setup, using 1 2 3 blocks becomes much more intuitive and versatile. You can stack multiple blocks to achieve custom heights or use them as supports to elevate workpieces, which is especially helpful when drilling or milling to exact dimensions. Some advanced users even combine them with other precision tools such as calipers, micrometers, or dial indicators to achieve highly accurate setups, making it possible to repeat the same measurements consistently across multiple projects. The beauty of 1 2 3 blocks lies in their simplicity and reliability, as they allow even beginners to perform tasks with the confidence of a professional machinist once they learn how to use 1 2 3 blocks properly. Over time, the habit of checking, aligning, and securing setups with these blocks becomes second nature, making them a fundamental part of any workshop and a tool that can significantly improve efficiency, precision, and the overall quality of your work.
Different Ways to Use 1 2 3 Blocks
1 2 3 blocks are incredibly versatile, and knowing the different ways to use them can greatly enhance both the efficiency and precision of your work. One of the most common uses is as setup blocks for machining and metalworking, where they act as a reference to ensure workpieces are aligned correctly before cutting or drilling. By providing a stable and flat surface, these blocks allow you to position materials at the exact height or angle needed, which is essential when accuracy matters. Beyond machining, they are often used as spacers or supports, helping to lift or stabilize items that need to be measured, drilled, or milled. Because they are made with high precision, stacking blocks to achieve custom heights is also possible, enabling you to create setups that match very specific project requirements without compromising accuracy. In woodworking, they can be used to square up corners or guide cuts, demonstrating their usefulness across different trades and not just metalworking.
Another creative and practical application of 1 2 3 blocks is using their pre-drilled holes for clamping, which allows you to fix them securely to a workbench or fixture. This is particularly helpful when performing repetitive tasks or when working with delicate pieces that must not move during processing. Some professionals even use 1 2 3 blocks as angle guides or leveling tools, combining them with other precision instruments to measure angles or set parallel surfaces with remarkable accuracy. Because of their hardened construction and long-lasting durability, they remain reliable even under heavy use, making them a tool you can trust for years. By experimenting with these blocks and exploring different setups, beginners and experts alike can discover how much they simplify complex tasks, reduce errors, and improve the overall quality of work. Essentially, mastering the various ways to use 1 2 3 blocks opens up a world of possibilities in precision work and provides a solid foundation for achieving professional results in any project.
Common Mistakes to Avoid When Using 1 2 3 Blocks
Even though 1 2 3 blocks are straightforward tools, many beginners make mistakes that can reduce their accuracy and effectiveness. One of the most common errors is using dirty or damaged blocks, which can create uneven surfaces and lead to incorrect measurements. Even a small particle of dust, metal shavings, or oil on the block can compromise precision, so cleaning and inspecting the blocks before each use is crucial. Another frequent mistake is ignoring the proper orientation of the block. Since 1 2 3 blocks have three different sides, placing them incorrectly can alter the height or angle of your workpiece, leading to misaligned cuts or drilled holes. Many users also fail to secure the blocks properly, which allows slight shifts during work, causing errors that may not be immediately obvious until it’s too late. Overlooking calibration and precision checks is another pitfall, especially when stacking blocks, as small cumulative errors can quickly add up.
Additionally, beginners sometimes rely solely on 1 2 3 blocks without verifying measurements with other tools, which can lead to overconfidence and mistakes. While these blocks are highly accurate, double-checking with calipers, micrometers, or a dial indicator ensures consistent results. Some people also misuse the blocks for tasks they are not designed for, such as bearing heavy loads or substituting them for non-flat surfaces, which can damage the blocks and affect precision. Another common error is ignoring maintenance, like failing to keep the blocks free from rust or storing them improperly, which can shorten their lifespan and reduce accuracy. Understanding these common mistakes and learning how to avoid them is a key part of mastering 1 2 3 blocks how to use, ensuring that every measurement and setup remains precise, reliable, and professional.
Tips for Accurate Results with 1 2 3 Blocks
To achieve precise and consistent results with 1 2 3 blocks, it’s essential to follow certain best practices that maximize their effectiveness. Always start by placing the blocks on a clean, flat, and stable surface, as any unevenness can directly affect your measurements. Even minor imperfections on the surface or the block itself can cause errors, so careful inspection is critical before every use. Pairing 1 2 3 blocks with other precision tools like calipers, micrometers, or dial indicators further enhances accuracy and ensures that every measurement or setup is exact. Beginners often underestimate the value of alignment and double-checking, but experienced machinists know that taking the extra time to verify setups is what separates accurate work from rushed, error-prone results. Additionally, always ensure that blocks are securely clamped or fixed in place during use, especially when they are stacked or supporting heavy pieces, to prevent even the slightest movement that can ruin a project.
Maintaining 1 2 3 blocks is equally important for long-term accuracy and reliability. Keeping them free from rust and corrosion is essential, which means storing them in a dry environment and occasionally applying a light protective coating. Regularly inspecting the blocks for nicks, dents, or wear ensures they remain precise over time, and replacing any damaged blocks prevents errors from creeping into your work. Using matched pairs of blocks for symmetrical setups and avoiding excessive force when clamping or aligning materials helps maintain their flatness and durability. Over time, developing a habit of meticulous cleaning, careful placement, and regular calibration will allow beginners and professionals alike to fully unlock the potential of 1 2 3 blocks, achieving precision, consistency, and confidence in every project while minimizing mistakes and improving workflow efficiency.
Tools You Can Use Alongside 1 2 3 Blocks
While 1 2 3 blocks are highly versatile on their own, their usefulness is greatly enhanced when combined with other precision tools, creating a complete setup for accurate work. Many machinists use these blocks alongside dial indicators, micrometers, and calipers to verify measurements and ensure that heights, distances, and angles are precise. For example, a dial indicator can measure tiny deviations in alignment when a workpiece is positioned against the block, while a caliper ensures that the spacing is exact. Pairing 1 2 3 blocks with surface plates or angle plates provides a perfectly flat or perpendicular reference surface, which is invaluable for machining operations where precision is critical. Even clamps and vises, when used with these blocks, can hold the workpiece steadily in place, allowing for safer and more accurate cutting, drilling, or milling. By integrating these tools, users can achieve setups that are repeatable, consistent, and reliable, which is especially important in professional or industrial settings where even minor errors can lead to costly mistakes.
Another advantage of using 1 2 3 blocks alongside other tools is the ability to expand their functionality beyond basic spacing or alignment. For instance, when stacked with precision measuring tools, the blocks can help create custom jigs or fixtures, allowing for highly specialized operations. They can also be used to calibrate machines or verify the flatness of surfaces in combination with gauges or levels. Many advanced users even compare them with gauge blocks, noting that while gauge blocks provide extreme accuracy for measurement, 1 2 3 blocks offer more versatility for setups and supporting workpieces. In essence, understanding how to pair 1 2 3 blocks with complementary tools not only enhances their effectiveness but also allows users to tackle a wider range of tasks with confidence, turning a simple set of blocks into a central part of any precision workshop and providing the accuracy and stability required for professional-level results.
How to Choose the Best 1 2 3 Blocks
Choosing the right 1 2 3 blocks is more than just picking a set off the shelf; it requires understanding the factors that affect accuracy, durability, and overall performance. The first consideration is material quality, as most high-precision blocks are made from hardened steel, which ensures they remain flat and resistant to wear even after repeated use. Some blocks are made from aluminum or cast iron, which may be lighter but can wear faster or warp over time, making them less reliable for precision work. Accuracy and tolerances are also critical, especially for tasks that demand exact measurements, so looking for blocks that are ground and lapped to exact dimensions is essential. Features such as pre-drilled holes for clamping and stacking can add convenience, but they should not compromise the flatness or precision of the blocks. Price is often a consideration, but investing in high-quality blocks pays off in the long run, as cheaper sets may lose accuracy quickly and lead to costly errors in your work.
Another important factor in selecting the best 1 2 3 blocks is durability and ease of maintenance, since blocks that rust, corrode, or chip easily will not provide consistent results over time. Some high-end blocks come with a protective coating or finish that resists corrosion, making them ideal for workshops where moisture or oil may be present. Brand reputation and customer reviews can also help gauge reliability, as experienced machinists often share insights on which blocks maintain their precision after years of use. Beginners should look for sets that are easy to handle, clearly marked, and compatible with other tools they already own, ensuring they can integrate them smoothly into their workflow. By carefully evaluating material, precision, durability, and usability, anyone can choose a set of 1 2 3 blocks that will provide reliable performance, improve the accuracy of their projects, and serve as a long-term investment in their workshop.
FAQs About 1 2 3 Blocks How to Use
Many beginners have questions when learning 1 2 3 blocks how to use, and understanding these common concerns helps build confidence and ensures proper use. One frequent question is what exactly 1 2 3 blocks are used for, and the answer is that they serve as a precision reference tool for measuring, aligning, and supporting workpieces in machining, woodworking, and metalworking. People also ask about their accuracy, and while they are not as precise as gauge blocks, well-made 1 2 3 blocks maintain tight tolerances that are more than sufficient for most workshop and industrial tasks. Beginners often wonder if they can stack blocks, and the answer is yes, stacking allows for custom heights and setups, but it requires careful alignment to avoid cumulative errors. Another common question is whether these blocks are suitable for beginners, and the truth is that they are beginner-friendly tools because of their simplicity and versatility, making it easy to start using them correctly with a little guidance and practice. Maintenance questions are also common, and keeping blocks clean, rust-free, and properly stored ensures long-term reliability and accuracy.
Some users also compare 1 2 3 blocks to other tools, asking whether they are better than gauge blocks or other measuring instruments. While gauge blocks provide extreme measurement precision, 1 2 3 blocks are more versatile and durable, making them ideal for everyday workshop use, setups, and supporting workpieces. People often ask how to avoid mistakes, and the key is understanding proper orientation, keeping the blocks clean, securing them properly, and double-checking measurements with other precision tools. Over time, mastering these techniques allows even beginners to perform tasks that require high accuracy with confidence. By learning the answers to these common questions and practicing proper handling, anyone can fully leverage 1 2 3 blocks, turning them into a reliable, multi-purpose tool that improves efficiency, accuracy, and overall project quality, making them an indispensable part of any precision-focused workspace.